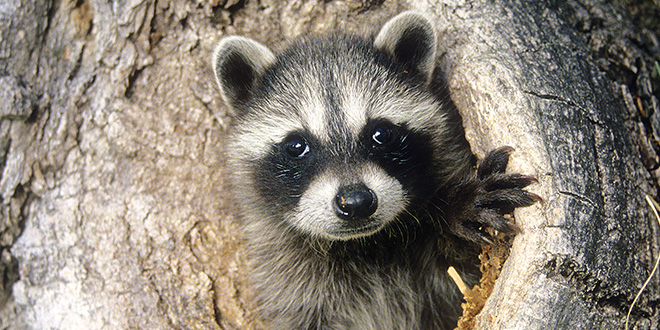
Master the basics to harvest the best images.
For those who photograph wildlife, hunting season never ends.
Whether you are looking through a rifle scope or viewfinder, hunting and photography have similar challenges.
Both activities share a few common terms, such as the word “shoot” in its various conjugations. Whether your goal is to harvest game or make a beautiful photograph, you must be prepared to “take the shot” when the time is right.
Both activities take a lot of practice and it helps to know your subject’s behavior.
It might sound simple enough: Point and shoot. However, there’s a great deal of work that goes into getting great wildlife shots. Yes, some can happen by luck, but, just as in hunting, consistent success is the result of skill and practice.
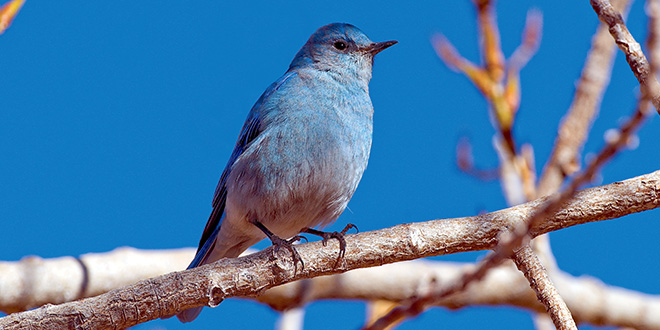
So, what can you do to get wildlife pictures that are worthy of framing? It depends, of course, on how much time and effort you’re willing to invest. Martin Perea, professional videographer and photographer with the New Mexico Department of Game and Fish, offers some advice:
Learn your subject
As with hunting, it’s important to learn everything you can about your subject. Knowing behavioral habits of wildlife will help you capture the moment you want.
A good example would be bighorn sheep during the mating season. You might be aware that rams spar for dominance by slamming heads, but do you know when they’re getting ready to battle? If you see a ram rubbing or bumping its horns against another’s body, or kicking with one of its front legs, get ready to shoot.
Have everything framed and in focus when the rams rear up on their hind legs in preparation for a charging clash. There likely will be a brief pause as they reach peak height, so be ready. It happens quickly.
In addition, a bighorn’s escape route almost always is upward, so be aware of your positioning. If you are at a higher point than a bighorn, it can become nervous if it sees you because its natural predators typically hunt from above.
Consider a raptor sitting on a power pole. Knowing that raptors tend to ruffle their feathers just before taking flight can help you anticipate their next movement so you will be composed and ready for an amazing shot.
Bigger birds are a better starting point for beginning photographers. Because they’re large, they give a photographer a better focus point than smaller birds. Large birds, such as great-blue herons, often will stand still to allow time to focus, and when they take flight, it is easier to stay composed on them for a few in-flight shots. As your skills improve with large birds, move to smaller birds.
Be patient
While it can happen, accidentally finding a picture of wildlife being wild is not a common occurrence.
Casual photographers may find it’s a good idea to leave a few minutes early on their morning commute. You may see raptors sitting on fence posts or other wildlife in open grasslands. Leaving a few minutes early provides an opportunity to capture some photos before continuing to your destination.
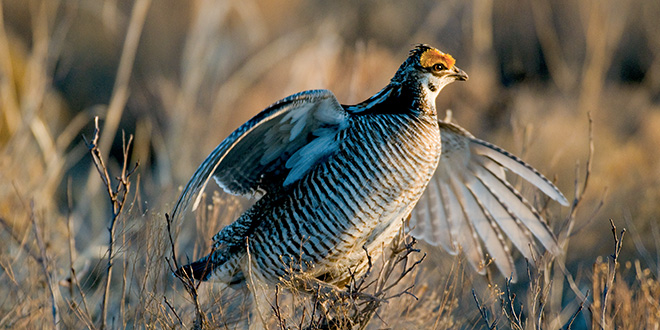
When you see wildlife, it can be a challenge getting close enough to get the image you want. While doing errands you may not want to be dressed in full camouflage, but you can wear earth-tone clothing that can help you blend into the surroundings.
With raptors, move slowly. Start shooting from a distance, take a few steps and shoot a few more. Continue moving closer and shoot as many frames as you can before the bird flies away. Remember to keep your distance when you encounter nesting birds. Many species are sensitive to disturbance, especially just after their young have hatched.
What you need
Getting a keeper shot of wildlife with a point-and-shoot camera is possible, but not likely. Decide how serious you want to be about wildlife photography and outfit yourself with the best photo equipment your budget will allow. The variety and price range of photography equipment can be daunting, so it will take a little research and shopping to find the right combination for your needs. Used equipment in good condition is worth considering.
A high-quality DSLR camera with a telephoto lens is recommended for wildlife photography.
Telephoto lenses accentuate camera movement, so you will need to use fast shutter speeds and a rock-solid camera support. A good-quality tripod is always your best bet, but a monopod also works and is quicker to reposition. In a pinch, you can support your lens on a fence post or even the hood of your vehicle. Just make sure the engine is not running. Many animals are accustomed to the sight of cars in their environment, so you may get some great shots by remaining in your vehicle and resting the lens on the door or a slightly rolled up window.
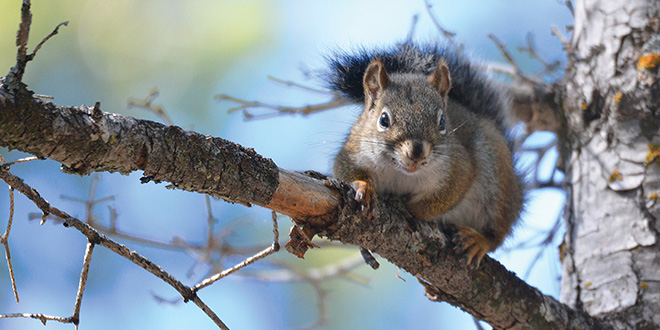
A shutter speed of at least 1/500 of a second or faster is needed for sharp pictures. The shutter speed you are able to use will depend on the amount of available light, your ISO (light sensitivity) setting, and the maximum aperture of your lens. Higher ISO settings enable faster shutter speeds, but image quality suffers the higher you go. It is best to use the lowest ISO needed for a good exposure at an adequate shutter speed. Some modern lenses are equipped with a vibration reduction feature. This slightly reduces the shutter speed needed when using a telephoto.
Experiment
Digital cameras provide options that didn’t exist with film. You paid for all the pictures taken with film, but with digital photography it is possible to experiment with settings and delete unwanted photos at no additional cost.
Think of specific pictures you want to take and look in the camera manual for proper settings. Then experiment and adjust the settings until you get the image and lighting you had hoped for when you started.
Most digital cameras come with a variety of settings. Some people like to pick just one setting such as “auto,” and leave it there. While this works for snapshots, it is not a good practice for making good wildlife photos. There are too many variables to depend on your camera’s automatic setting. In-flight birds will pose a different challenge than a squirrel sitting perfectly still, so study your user manual and find which settings work for the pictures you’re trying to take.
Experimenting also will help you become familiar with the camera, and before long you’ll be able to change a setting without moving your eye from the finder.
Look before you shoot
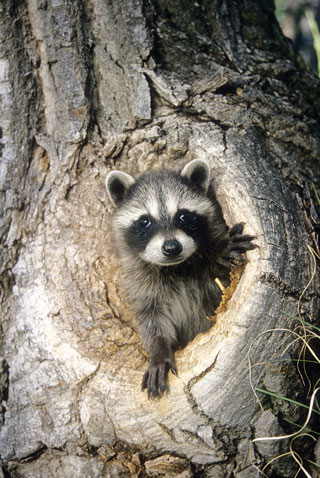
Review your camera settings before taking to the field. Many great shots can be lost because settings from a previous excursion weren’t reviewed.
Respect wildlife
A telephoto lens allows you to make photos while minimizing the disturbance to wildlife. Most often, if you try to get too close to wildlife, it will simply flee and the opportunity is lost.
Now go out and shoot
The more photos you take, the better and more predictable the results will be. You will become more consistent in creating photographs that you will be proud to show.
 New Mexico Wildlife magazine Conserving New Mexico's Wildlife for Future Generations
