 New Mexico Wildlife magazine Conserving New Mexico's Wildlife for Future Generations
Feeling nostalgic and remembering my archery beginnings and passion for the outdoors.
As a teenager, I had a few folks who were instrumental in getting me into archery. Members from the Gallup Bowmen’s Association helped me tremendously in those beginning years, including Lieu Sullenger, Henry and Mike Montano, Gary Longan, Dan Shepard and many others. It was archers such as them who taught me what they knew about shooting a compound bow and helped fuel my love of the outdoors, hunting and archery. I also immersed myself in books, articles and hunting videos that included content from Dwight Schuh, Larry D. Jones and Chuck Adams. Hunting videos from Dirk and Colt Ross were also a big influence.
As these fond memories of my archery beginnings came flooding back, I thought it would be cool to set up a compound bow with some of the equipment I had kept over the years and to try my hand at possibly shooting fingers again. I shot fingers for many years, but got away from it as I developed a bad case of target panic and opted to trade my finger tab for a mechanical release.
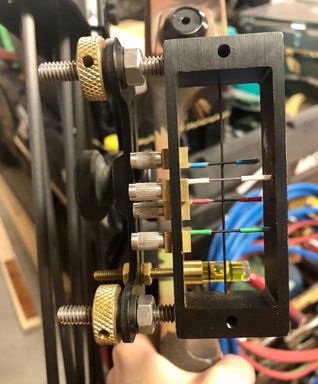
I wanted to set up a bow from the era when I started shooting, and here is my project that I want to share with you today.
Shooting fingers does require a longer axle-to-axle bow, which is hard to come by nowadays. I was fortunate to get my hands on a bow made in the 1980s, a Hoyt Rambo, which is approximately 44 inches axle-to-axle.
Now my adventure with setting it up begins.
I looked over the wooden limbs for any cracks and damage, put on a new Dacron string, set up my string (with peep, silencers and nocking point), added a new cable slide, put on a stabilizer and wrist sling and inspected the rest of the bow for any visible damage. I didn’t find any damage, so I continued setting up the bow.
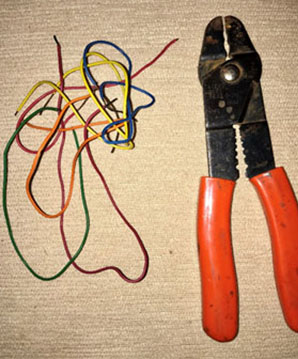
I chose to put on a vintage Fine-Line crosshair sight and used the plastic coating from electrical wiring for color-coding the crosshairs. I also added a sight level.
To aid in noise dampening, I was able to add a SIMS Laboratory split limb silencer onto the sight. I also added some smaller silencers onto the quiver. The bow was already equipped with limb silencers from the previous owner.
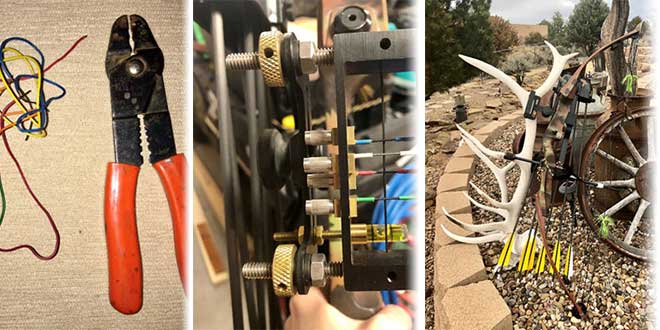
Wiring used to color code crosshairs. I used wire strippers to take the plastic coating off the wire.
Sights after color coding. Use a dab of super glue to hold the plastic on the crosshairs in place.
I slapped on a quiver that Martin Archery made years back (the Martin Super Quiver) and a NAP center rest. At this point, the bow began to take on a look of usefulness. One note: this quiver would not be adequate for holding aluminum shafts. The arrow gripper was for smaller-diameter carbon shafts, so I chose to shoot properly spined feather-fletched carbon arrows for my setup. Additionally, I checked the bow for even tiller, adjusted the bow draw weight and checked the brace height measurement (which was written on the paperwork the original owner of the bow still had).
My “old” bow was all set up (draw weight at approximately 55 pounds), and the wooden limbs were waxed. I was pleasantly surprised with its performance after shooting it, and who knows, I may take it on a hunt in the future.
Never forget where you come from, and if you have some extra archery equipment laying around, please share and encourage a family member or friend to get into the sport. Shooting archery allows for fun times and may open up some new avenues for hunting. Keep the sport growing!